How to set up feature flags in Android
Feb 19, 2024
Feature flags help you conditionally roll out and release features safely. This tutorial shows you how integrate them in Android using PostHog.
We'll create a basic Android app, add PostHog, create a feature flag, and then implement the flag to control content in our app.
1. Create a new Android app
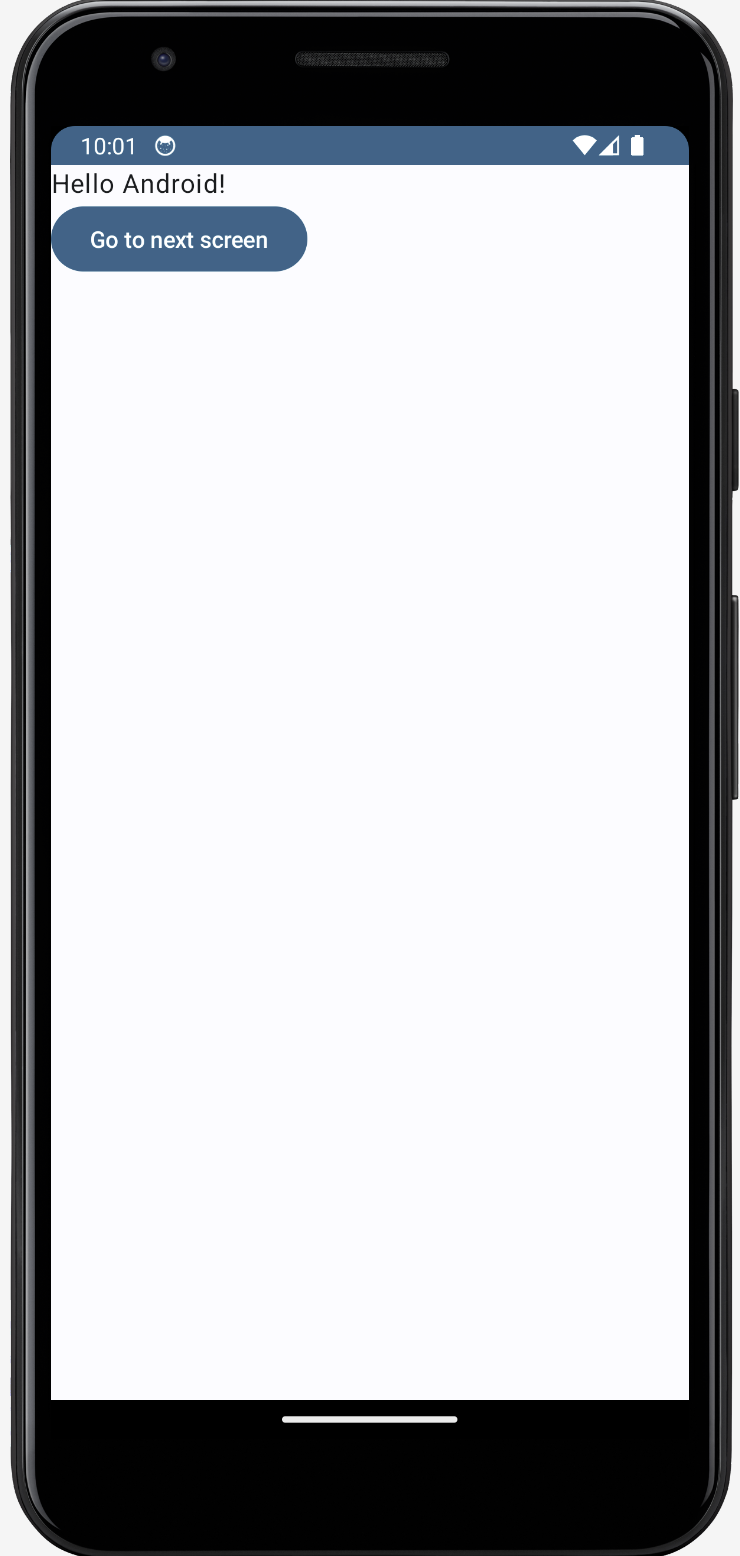
Our app will have two screens:
- The first screen has a button which takes you to a second screen.
- The second screen either has a
red
orgreen
background color depending on whether our feature flag is enabled or not.
The first step is to create a new app. Open Android Studio and create a new project. Select Empty Activity
, name your project Android-Feature-Flags
, and use the defaults for everything else.
Then, replace your code in MainActivity.kt
to set up a basic UI with a button to navigate to a new screen.
package com.example.android_feature_flagsimport android.os.Bundleimport androidx.activity.ComponentActivityimport androidx.activity.compose.setContentimport androidx.compose.foundation.layout.Arrangementimport androidx.compose.foundation.layout.Columnimport androidx.compose.foundation.layout.fillMaxSizeimport androidx.compose.material3.Buttonimport androidx.compose.material3.MaterialThemeimport androidx.compose.material3.Surfaceimport androidx.compose.material3.Textimport androidx.compose.runtime.Composableimport androidx.compose.runtime.rememberimport androidx.compose.runtime.mutableStateOfimport androidx.compose.ui.Alignmentimport androidx.compose.ui.Modifierimport androidx.compose.ui.graphics.Colorimport androidx.compose.ui.tooling.preview.Previewimport androidx.navigation.NavControllerimport androidx.navigation.compose.NavHostimport androidx.navigation.compose.composableimport androidx.navigation.compose.rememberNavControllerimport com.example.android_feature_flags.ui.theme.AndroidFeatureFlagsThemeclass MainActivity : ComponentActivity() {override fun onCreate(savedInstanceState: Bundle?) {super.onCreate(savedInstanceState)setContent {AndroidFeatureFlagsTheme {Surface(modifier = Modifier.fillMaxSize(), color = MaterialTheme.colorScheme.background) {MyApp()}}}}}@Composablefun MyApp() {val navController = rememberNavController()NavHost(navController = navController, startDestination = "main_screen") {composable("main_screen") {Greeting("Android", navController)}composable("second_screen") {SecondScreen()}}}@Composablefun Greeting(name: String, navController: NavController, modifier: Modifier = Modifier) {Column(modifier = modifier.fillMaxSize()) {Text(text = "Hello $name!")Button(onClick = { navController.navigate("second_screen") }) {Text("Go to next screen")}}}@Composablefun SecondScreen() {val isFlagEnabled = remember { mutableStateOf(false) } // We'll set this value later in the tutorialval backgroundColor = if (isFlagEnabled.value) Color.Green else Color.RedSurface(modifier = Modifier.fillMaxSize(), color = backgroundColor) {Column(modifier = Modifier.fillMaxSize(), horizontalAlignment = Alignment.CenterHorizontally, verticalArrangement = Arrangement.Center) {}}}@Preview(showBackground = true)@Composablefun DefaultPreview() {AndroidFeatureFlagsTheme {MyApp()}}
Make sure to add implementation("androidx.navigation:navigation-compose:2.4.0")
to your dependencies
in to Gradle Scripts/build.gradle.kts (Module:app)
and sync your project with the Gradle files.
Our basic set up is now complete. Build and run your app to see it in action.
2. Add PostHog to your app
First, add the PostHog Android SDK as a dependency in your Gradle Scripts/build.gradle.kts (Module: app)
file. You can find the latest version on our GitHub. For this tutorial, we use version 3.1.7
.
dependencies {implementation("com.posthog:posthog-android:3.+")//... other dependencies}
Sync your project with your Gradle file changes.
Next, we create a Kotlin class where we can configure our PostHog instance. In the src/main/java/com.example.android_feature_flags
folder, add a new file MyFeatureFlagsApplication.kt
and then add the following code:
package com.example.android_feature_flagsimport android.app.Applicationimport com.posthog.android.PostHogAndroidimport com.posthog.android.PostHogAndroidConfigclass MyFeatureFlagsApplication : Application() {companion object {private const val POSTHOG_API_KEY = "<ph_project_api_key>"private const val POSTHOG_HOST = "https://us.i.posthog.com" // usually 'https://us.i.posthog.com' or 'https://eu.i.posthog.com'}override fun onCreate() {super.onCreate()val config = PostHogAndroidConfig(apiKey = POSTHOG_API_KEY,host = POSTHOG_HOST)PostHogAndroid.setup(this, config)}}
To get your PostHog API key and host, sign up to PostHog. Then, you can find your API key and host in your project settings.
We now need to register our custom application class. Go to app/manifests/AndroidManifest.xml
and add android:name=".MyFeatureFlagsApplication"
within the <application>
tag:
<?xml version="1.0" encoding="utf-8"?><manifest xmlns:android="http://schemas.android.com/apk/res/android"xmlns:tools="http://schemas.android.com/tools"><!-- ... rest of the config --><applicationandroid:name=".MyFeatureFlagsApplication"<!-- ... rest of the config --></application></manifest>
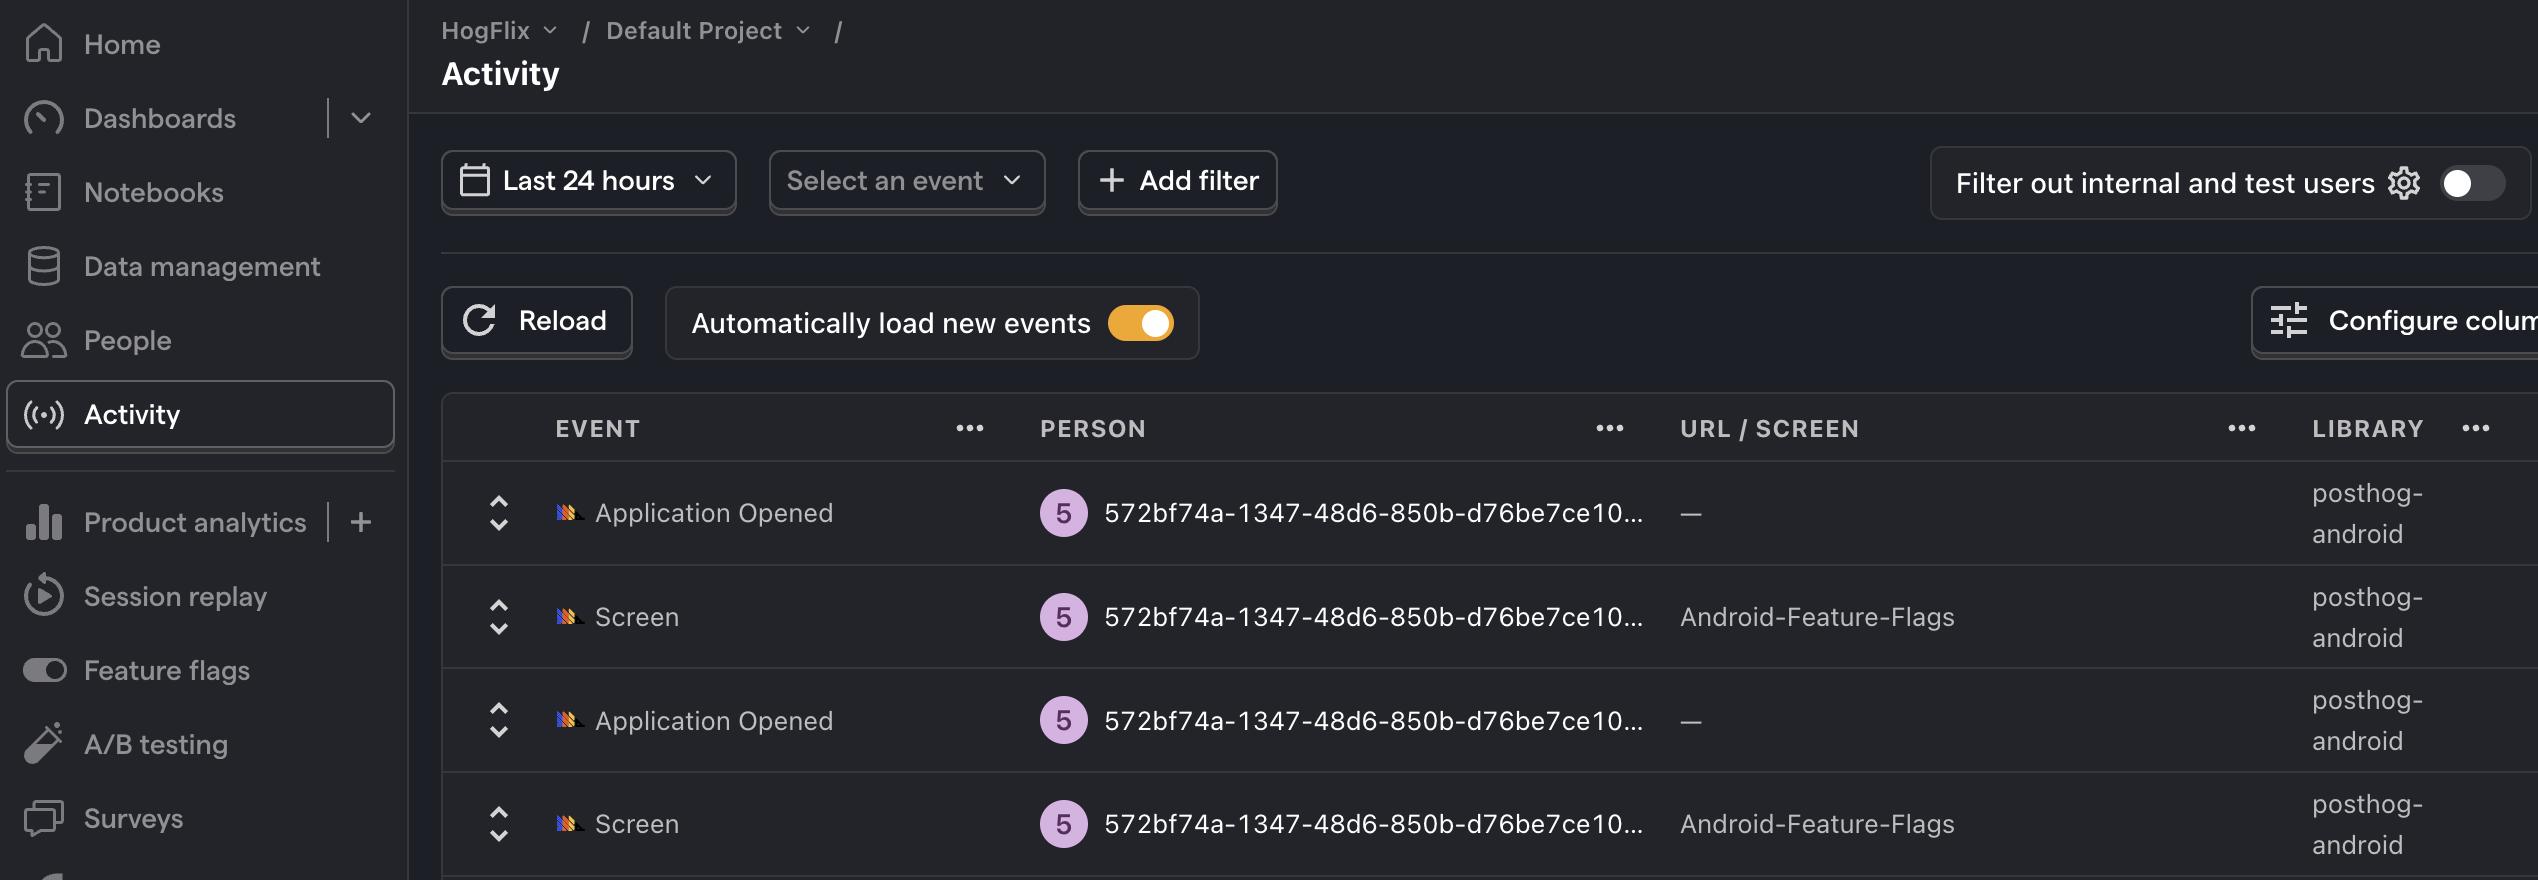
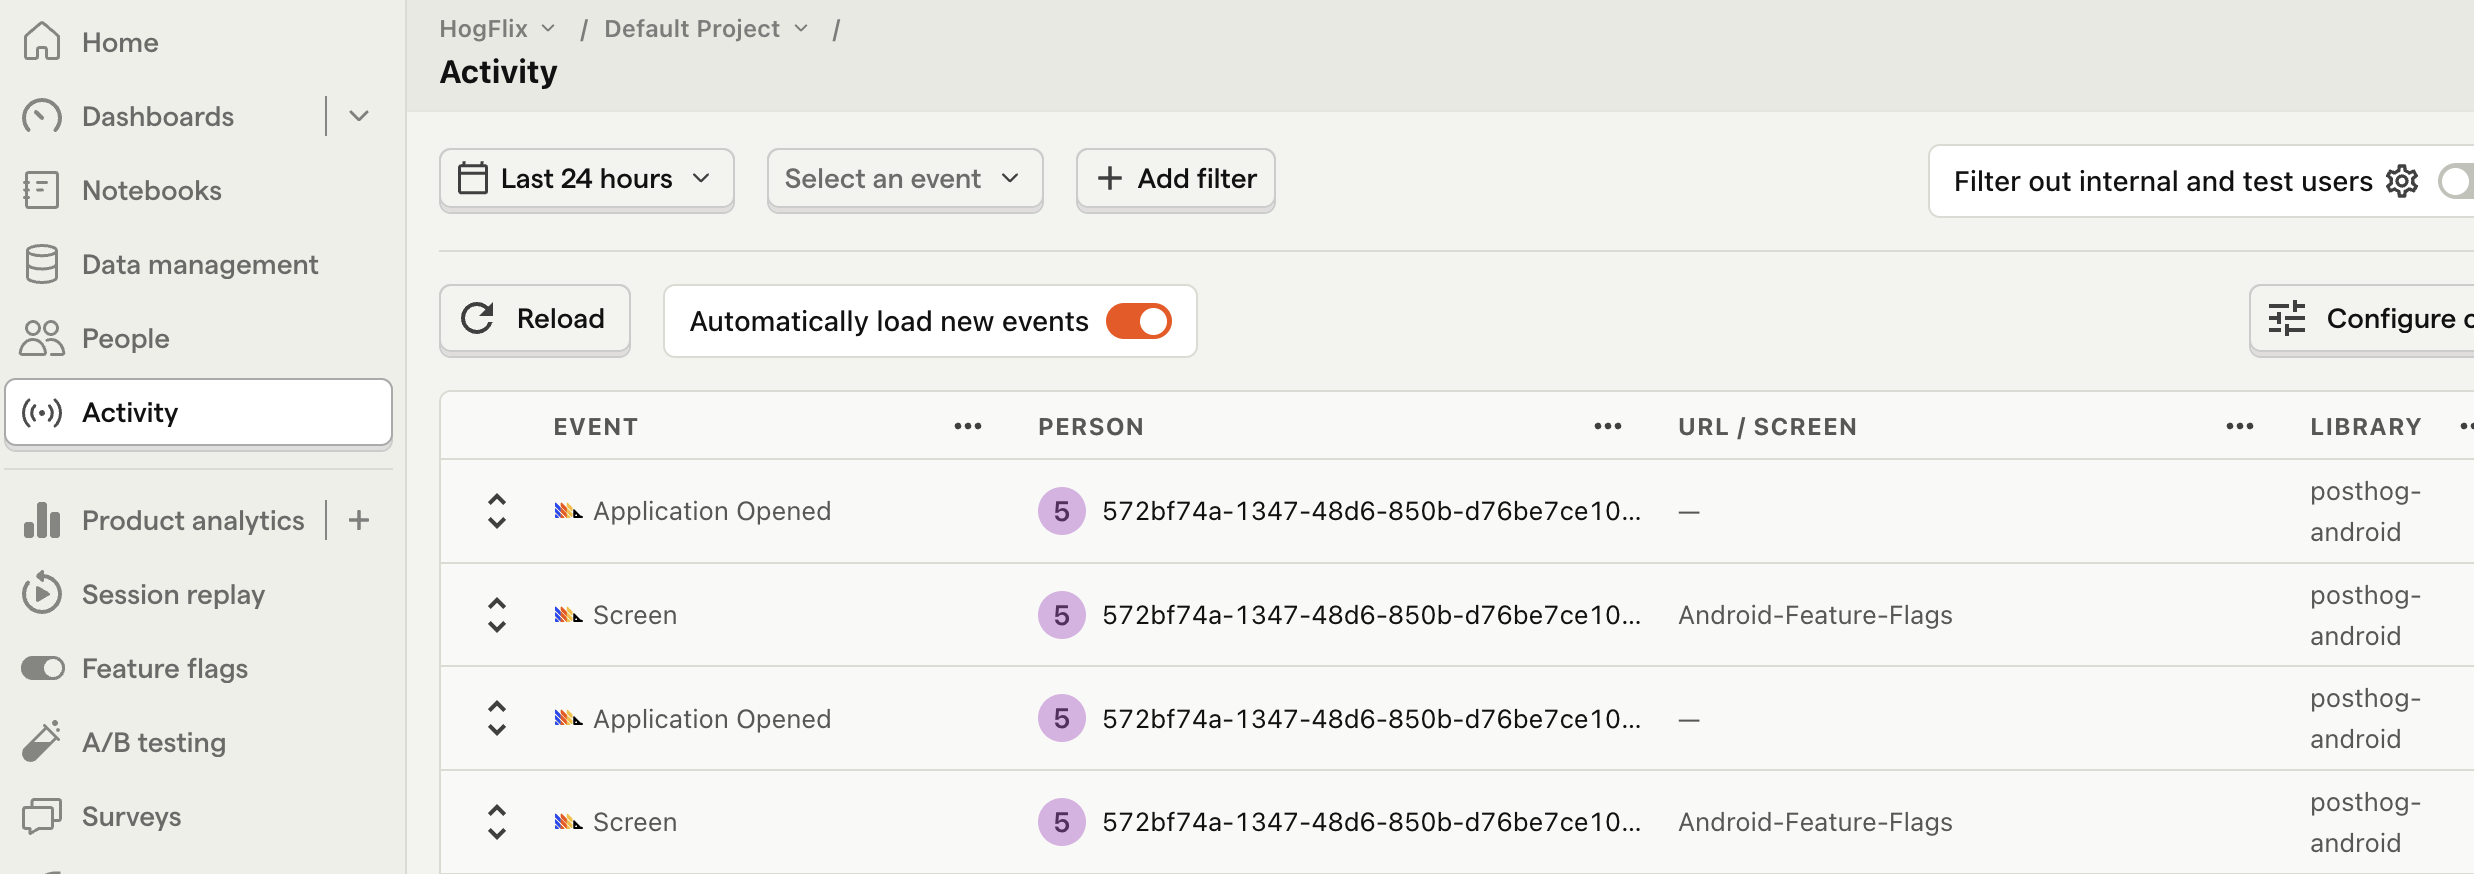
To check your setup, build and run your app. Click your button a few times. You should start seeing events in the activity tab.
3. Create a feature flag in PostHog
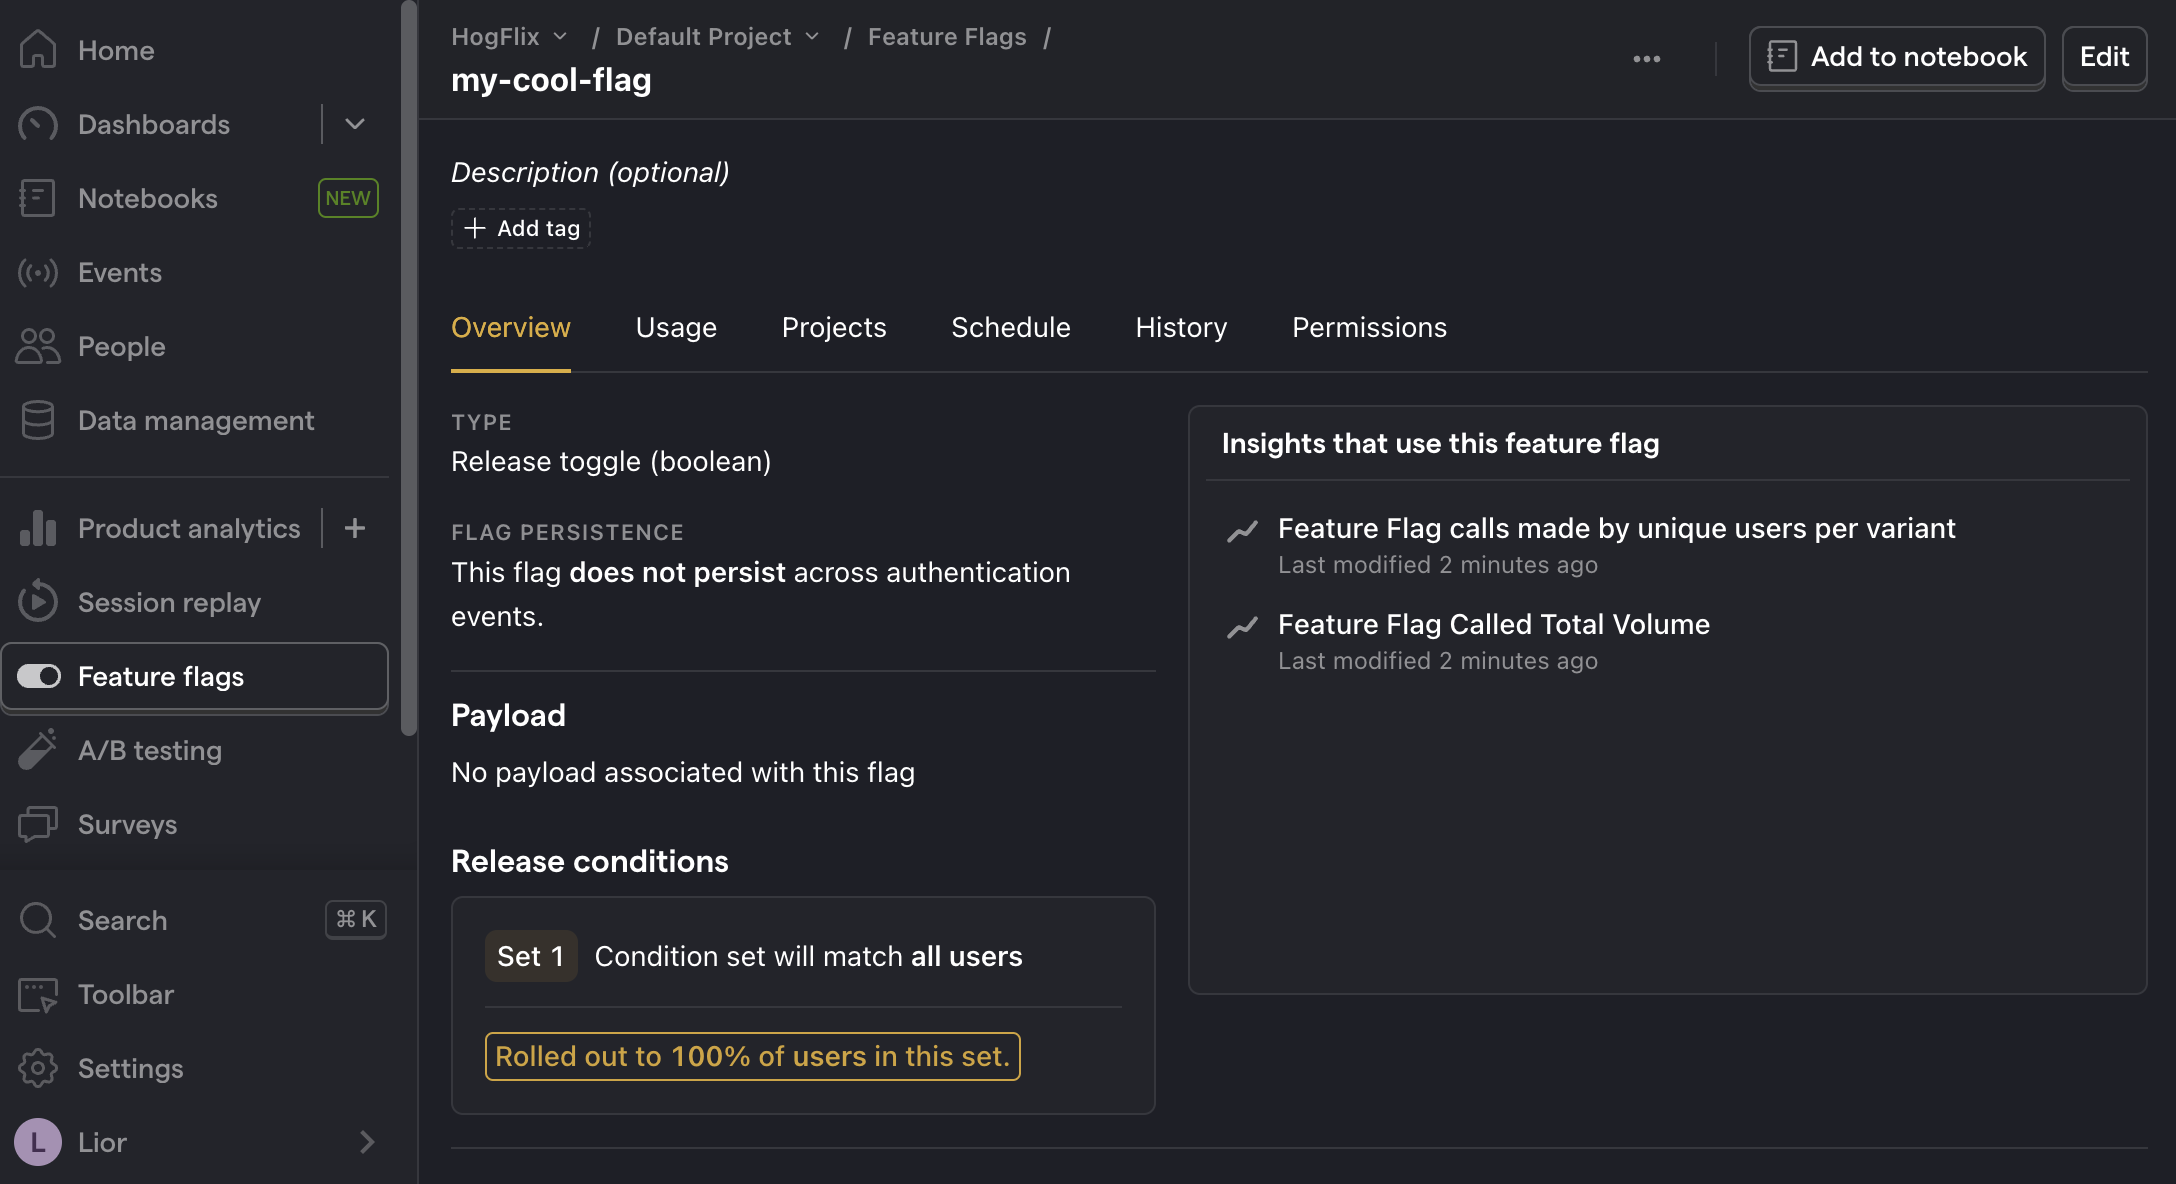
With PostHog set up, your app is ready for feature flags. To create one, go to the feature flags tab in PostHog and click New feature flag. Enter a flag key (like my-cool-flag
), set the release condition to roll out to 100% of users, and press "Save."
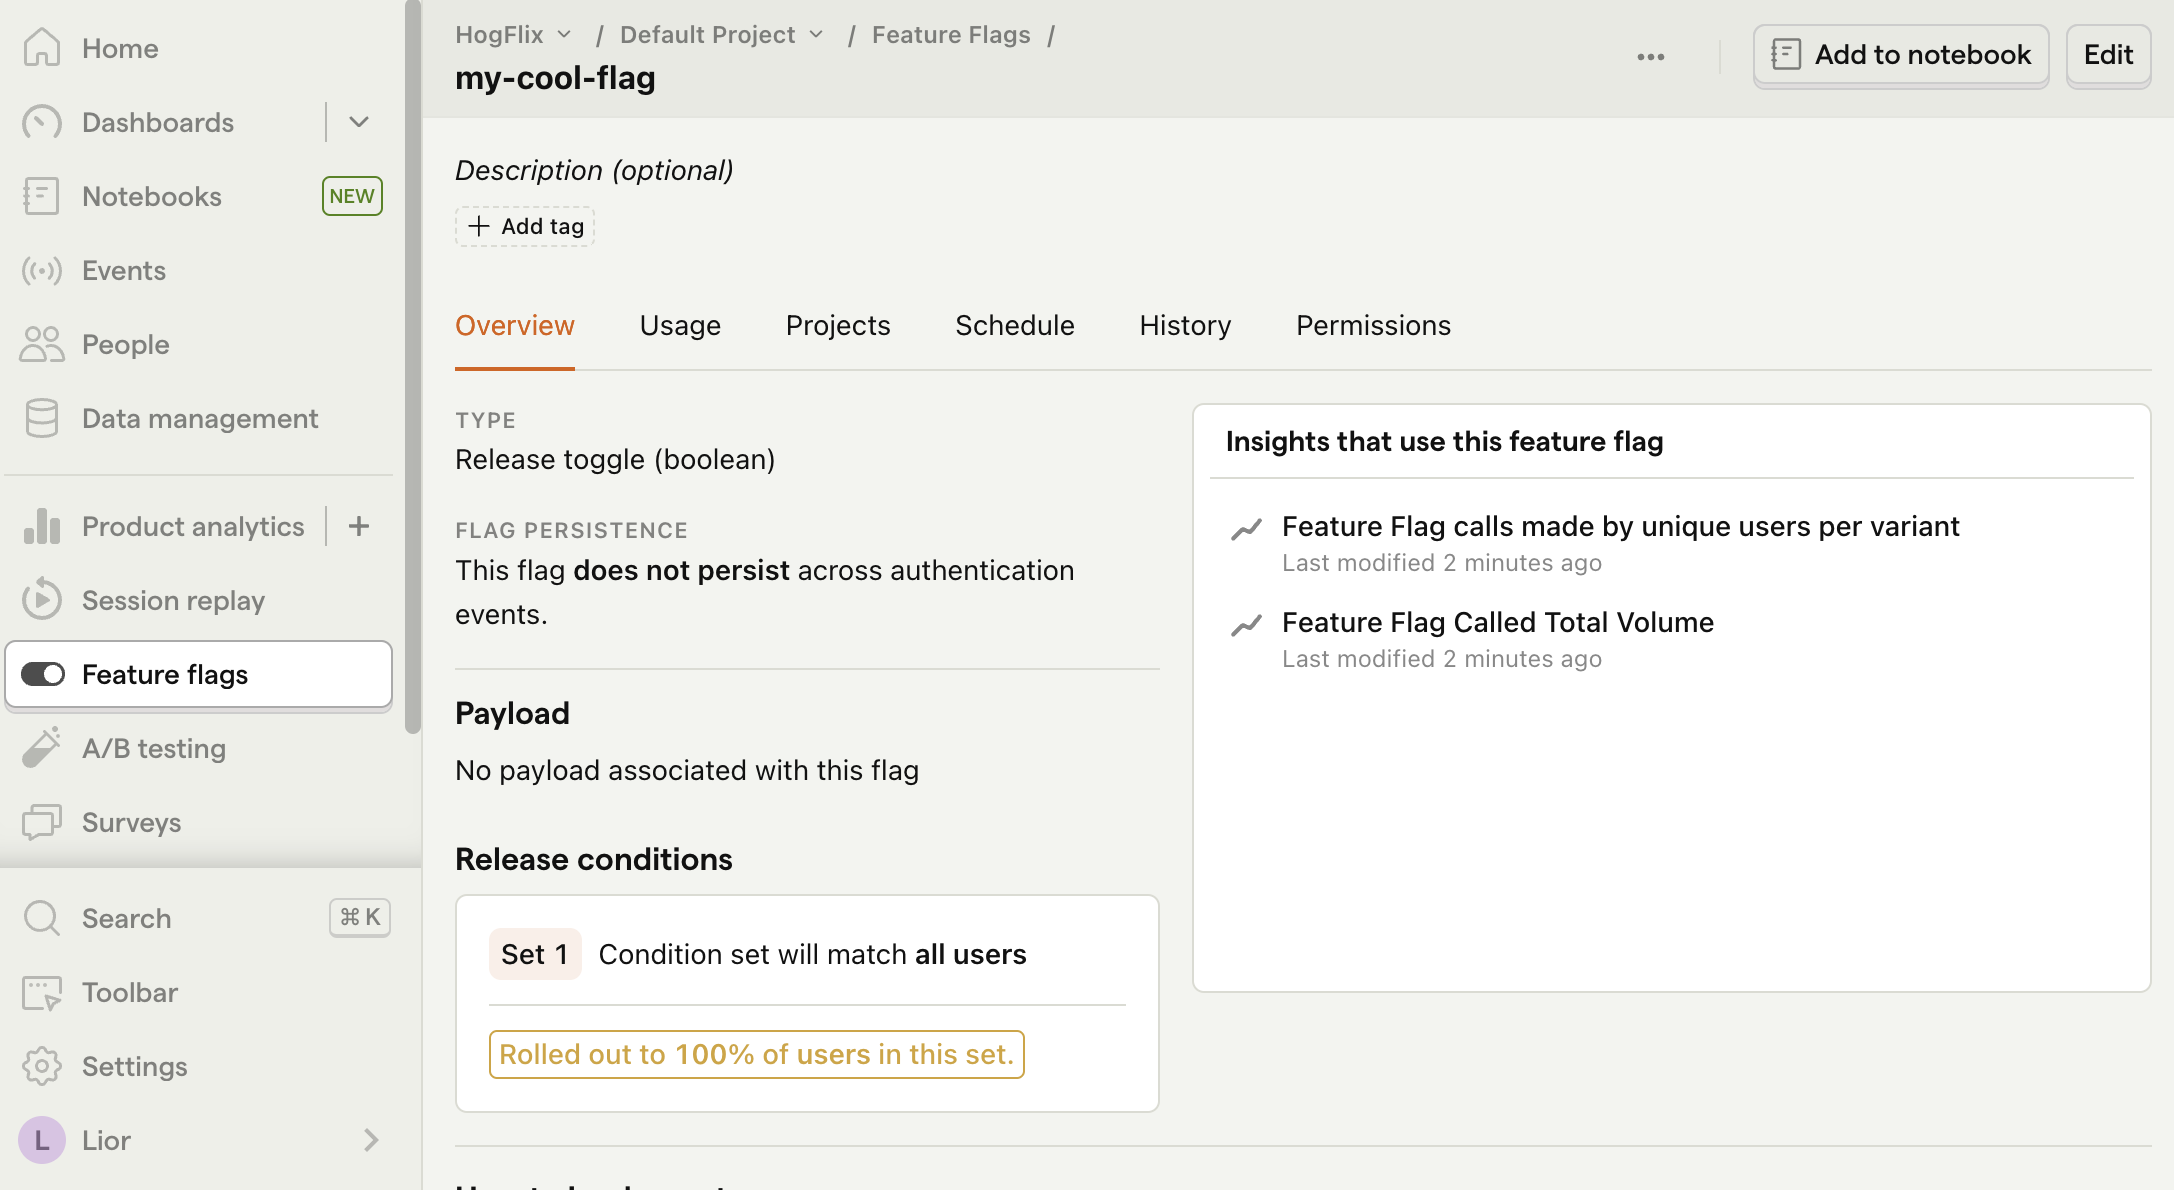
You can customize your release conditions with rollout percentages, and user or group properties to fit your needs.
4. Implement the flag code
To implement the feature flag, we:
- Fetch the
my-cool-flag
flag usingPostHog.isFeatureEnabled()
. - Change the background color of
SecondScreen
based on the value of the flag.
To do this, update the code in MainActivity.kt
with the following:
import androidx.compose.runtime.LaunchedEffectimport com.posthog.PostHog// ... [Rest of your imports and MainActivity code]@Composablefun SecondScreen() {val isFlagEnabled = remember { mutableStateOf(false) }// LaunchedEffect to call PostHog.isFeatureEnabled() once when the composable is initializedLaunchedEffect(key1 = Unit) {isFlagEnabled.value = PostHog.isFeatureEnabled("my-cool-flag")}val backgroundColor = if (isFlagEnabled.value) Color.Green else Color.RedSurface(modifier = Modifier.fillMaxSize(), color = backgroundColor) {// ... [rest of SecondScreen code remains unchanged]}}// ... [rest of the file remains unchanged]
That's it! When you restart your app and click the button, you should see the green background color on the second screen.
Further reading
- How to set up session replays in Android
- How to run A/B tests in Android
- How to set up analytics in Android
Subscribe to our newsletter
Product for Engineers
Read by 25,000+ founders and builders.
We'll share your email with Substack
Questions? Ask Max AI.
It's easier than reading through 562 docs articles.